To make it easier to do work on my ski boots, I needed to build a ski boot spreader board. A boot spreader board provides solutions for a couple problems:
- The ski binding attached to the board secures the boot in place while doing work.
- The board provides a way to hold open the boot flaps, which is useful for checking fit and getting equipment in place before executing shell stretches.
A boot spreader board is not always necessary when doing work on your ski boots, but it is nice to have available, and it is easy to build one at home. Here’s how I built and use my boot spreader board:
Background
I am not a ski boot fitting professional. I’m just a skier with wide, oddly-shaped feet who has not had much luck getting professional ski boot fitters to make the shell customizations I need for my ski boots. Eventually, I decided to take matters into my own hands and learn about making ski boot shell customizations. I still have a lot to learn, but my goal is to develop a successful, do-it-yourself process for, specifically, stretching ski boot shells to add width in the forefoot area. I plan to share what I learn here (follow the ski boot fitting topic).
Tools and Materials
- Hardwood plywood (¾″ × 2′ × 4′)
- Wire ring anchor points (Quantity: 4)
- Nuts, bolts, and washers (Quantity: 8 each)
- Ski binding and its set of screws (preferably a binding that can be adjusted to different ski boot sizes without re-mounting)
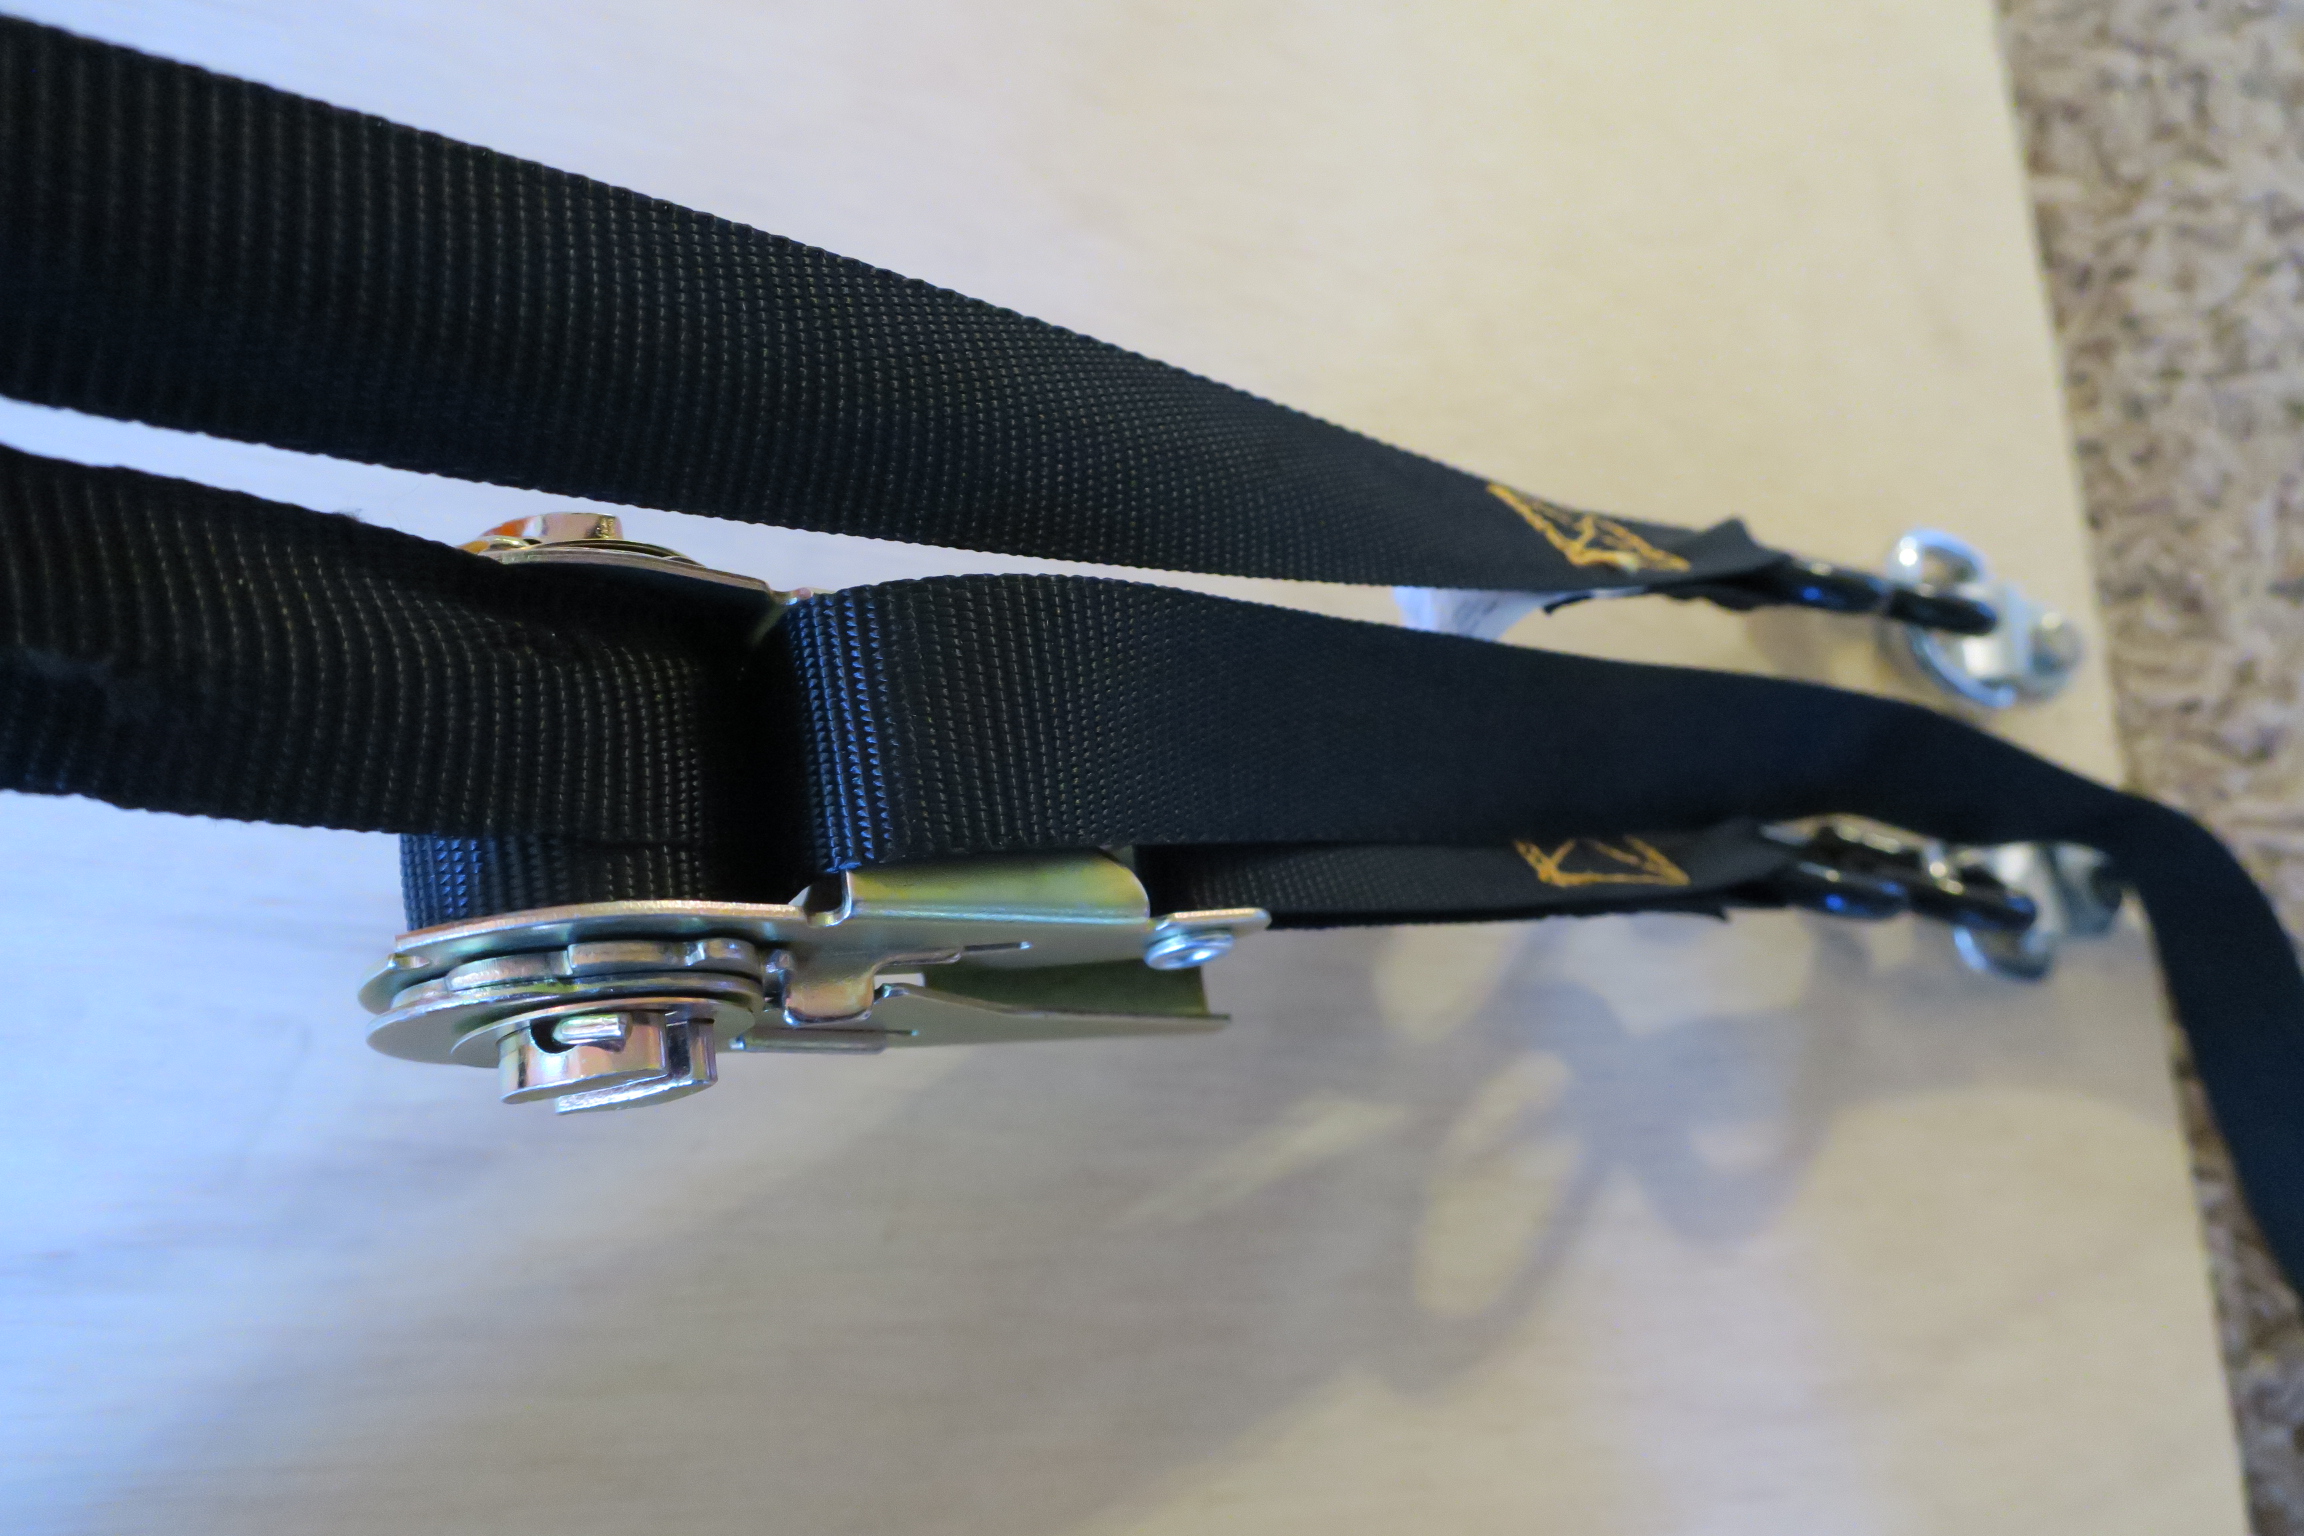
- Ratcheting tie-downs with hooks (Quantity: 2)
- Locking sheet metal clamps (Quantity: 2)
- Power drill with 1/8″ and ¼″ drill bits
- Pozidriv #3 bit or driver (or whatever is needed for your ski binding’s screws)
- Automatic center punch (optional—helps drill holes more accurately)
- Bosch Daredevil ¾″ × 6″ spade bit
- DeWalt 7/16″ × 1-7/8″ magnetic nut driver
- Ratcheting driver (Similar)
Attach the ski binding to the board
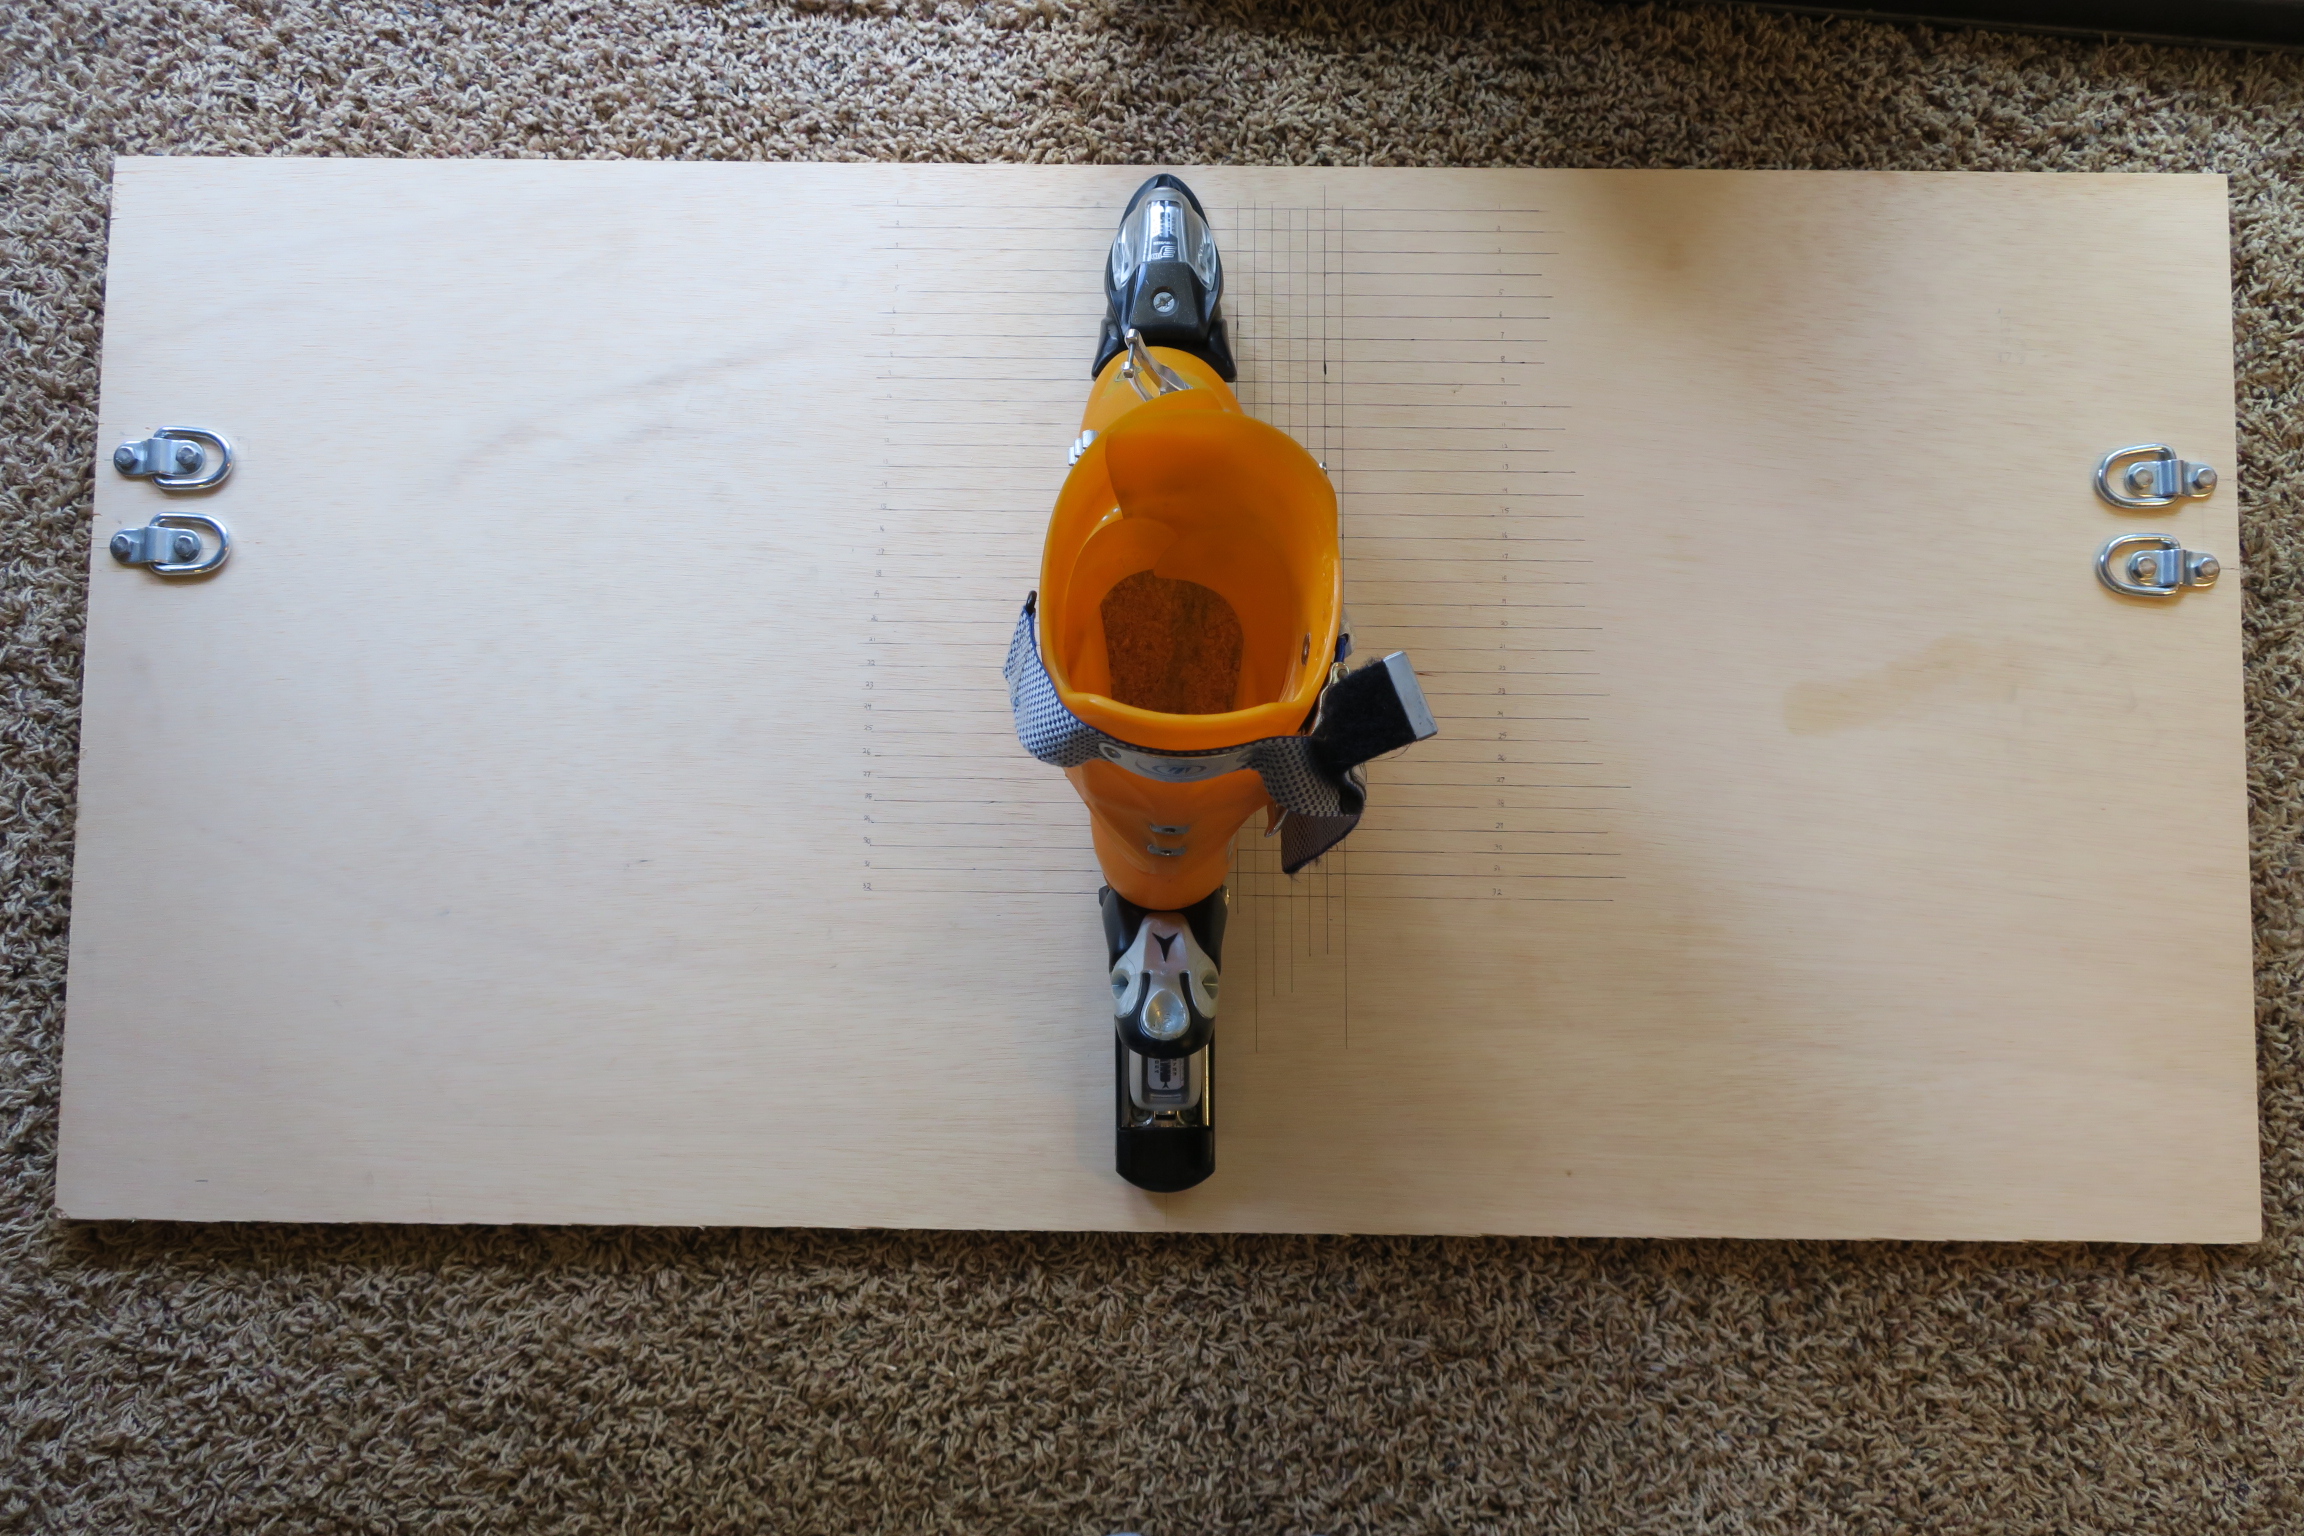
- Center the ski binding in the middle of the board so that there is ~ 2′ of unused board space to the left and right of the binding
- (Optional) Measure and then draw guide lines at regularly spaced intervals away from the center line. These guide lines could be helpful when executing shell stretches.
- Drill starter holes using a 1/8″ drill bit (or whatever size bit is appropriate for your binding’s screws)
- Screw the binding to the board
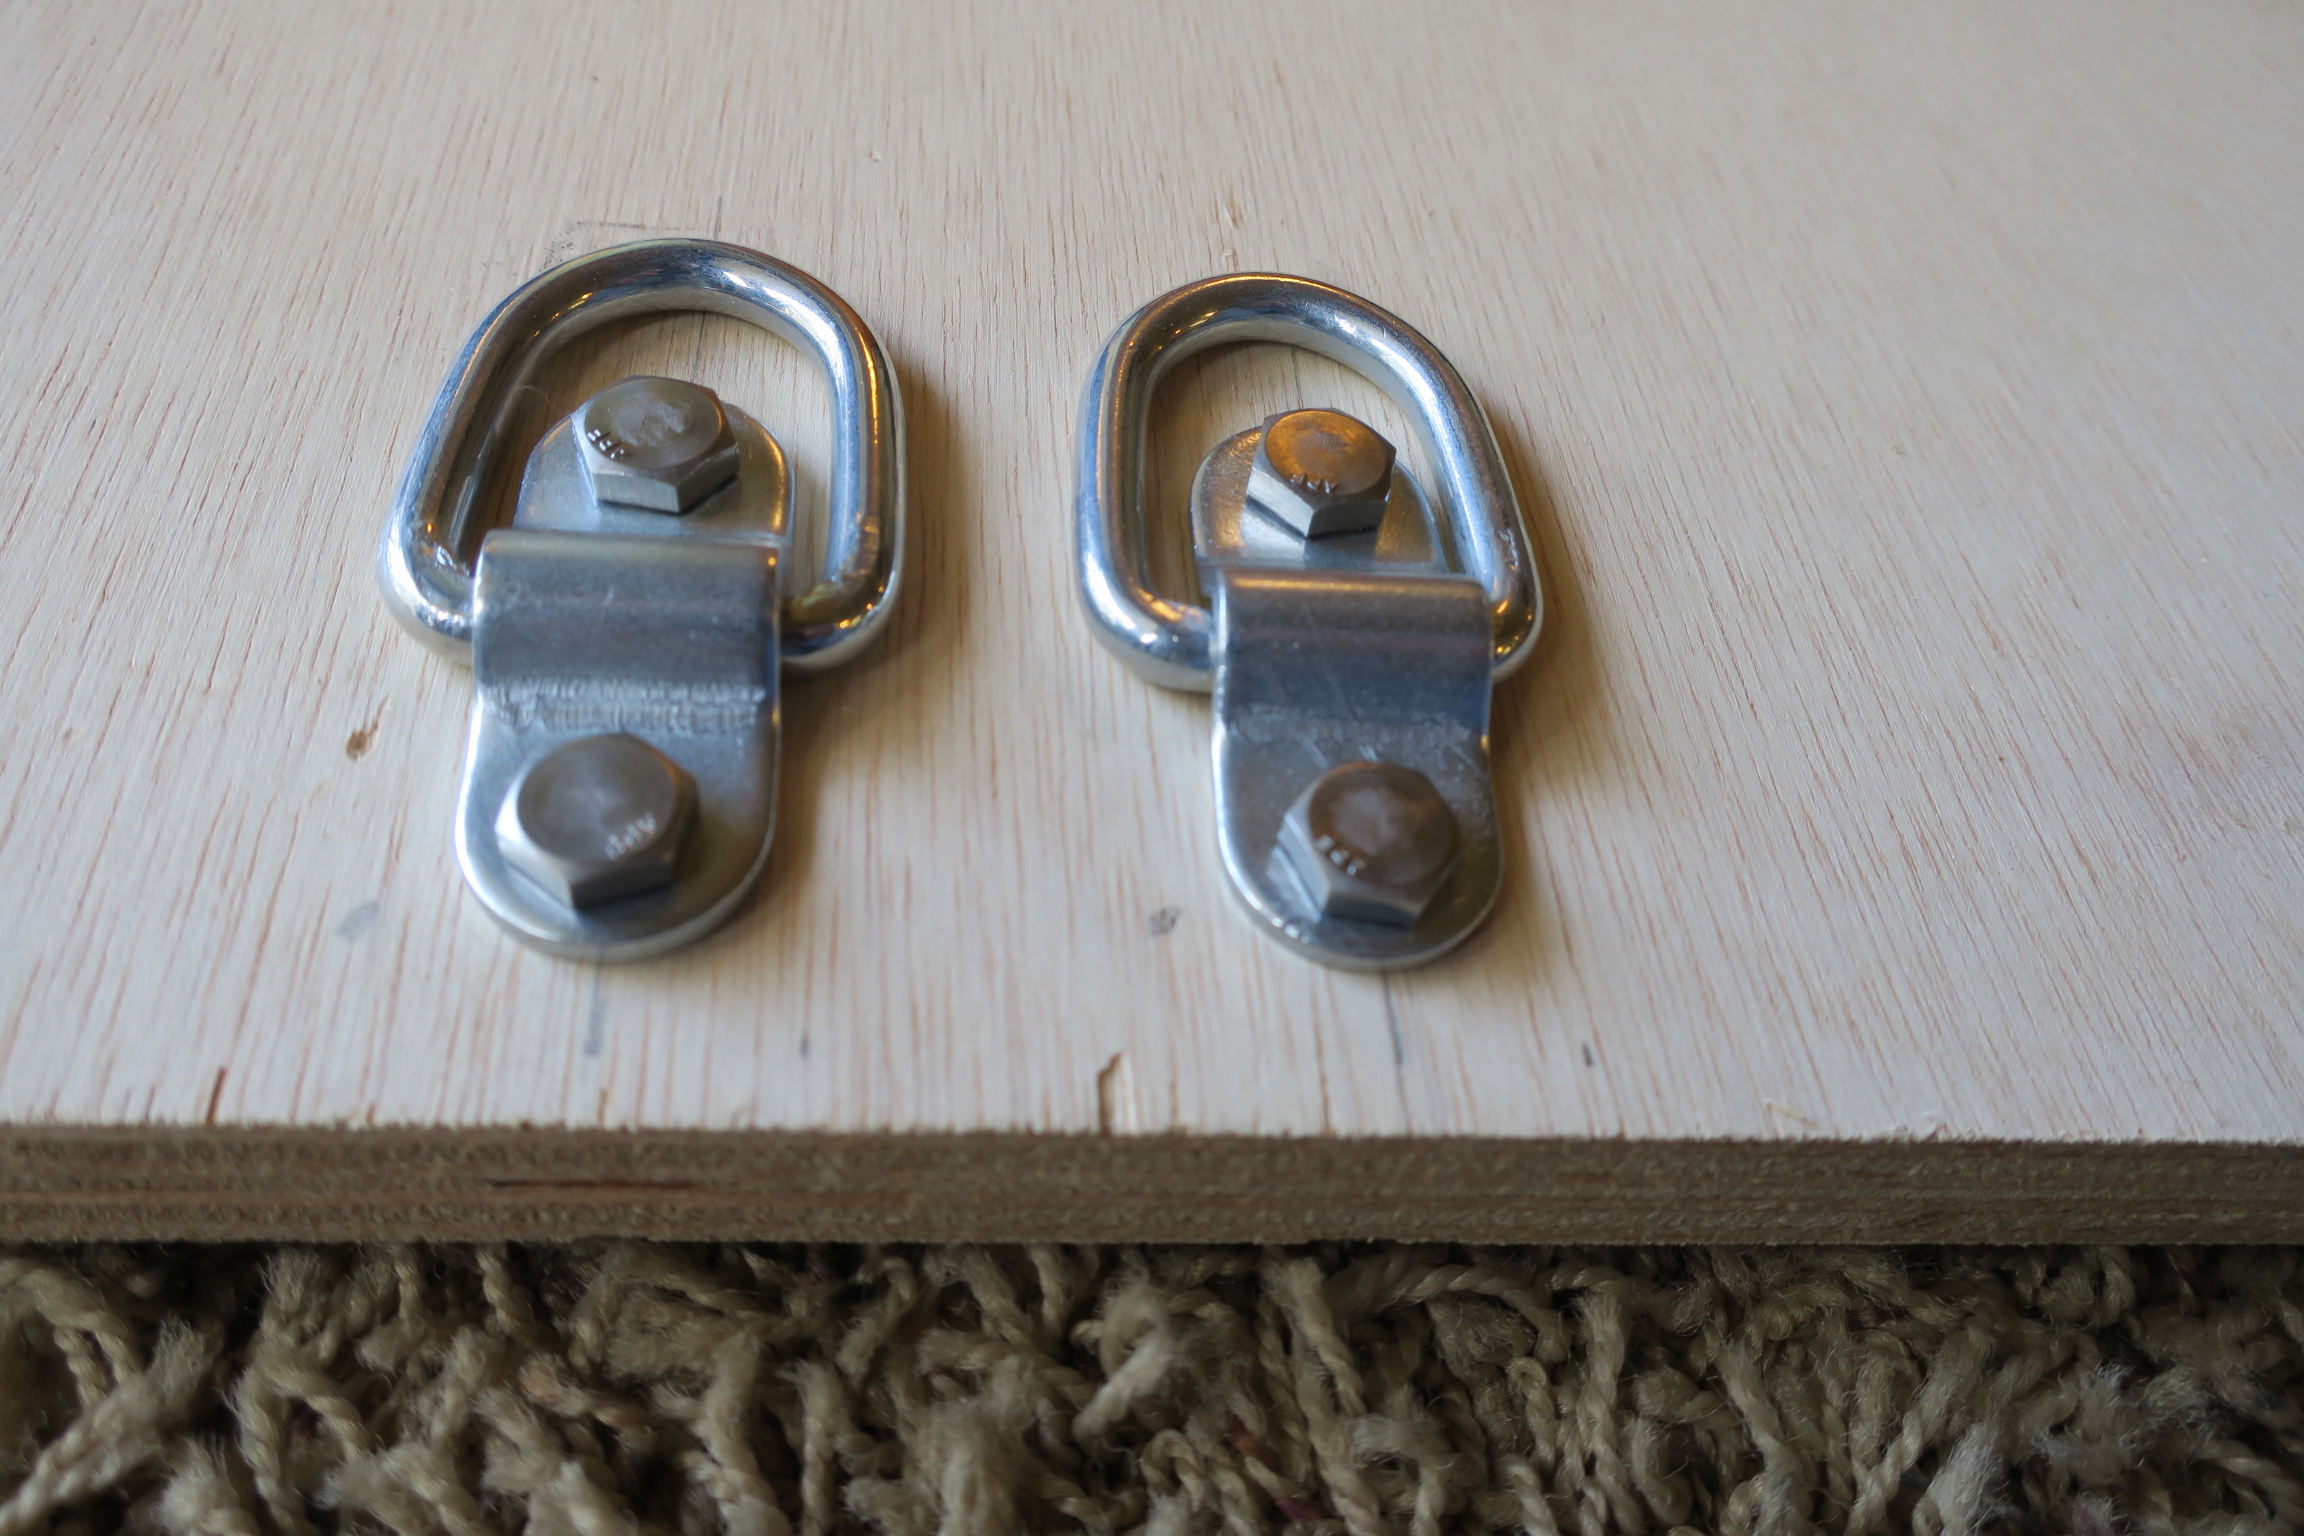
Attach the wire ring anchors to the board
- Place two anchors next to each other (about 2″ apart, from center to center) and roughly in-line with where the forefoot of the ski boot will be when it’s in the binding. Leave about ¾″ of room between the edge of the board and the center of the bolt hole closest to the edge.
- Drill holes for the bolts using a ¼″ drill bit
- Flip the board over and use the ¾″ spade bit to clear out about 3/8″ of material (enough space for the nuts and washers) at each of the holes that were drilled for the bolts. This step provides space for the nuts and washers in the bottom of the board so it can lay flush on a flat surface.
- Bolt the wire ring anchors to the board
- Repeat this process on the opposite side of the board
How to use the boot spreader board
- Adjust the ski binding for the ski boot you’re going to work on
- Insert the ski boot into the binding and make sure it’s securely locked into the binding
- Attach the hook for the ratchet portion of the tie-down to a wire ring anchor. Start on the side that has the overlapping forefoot flap.
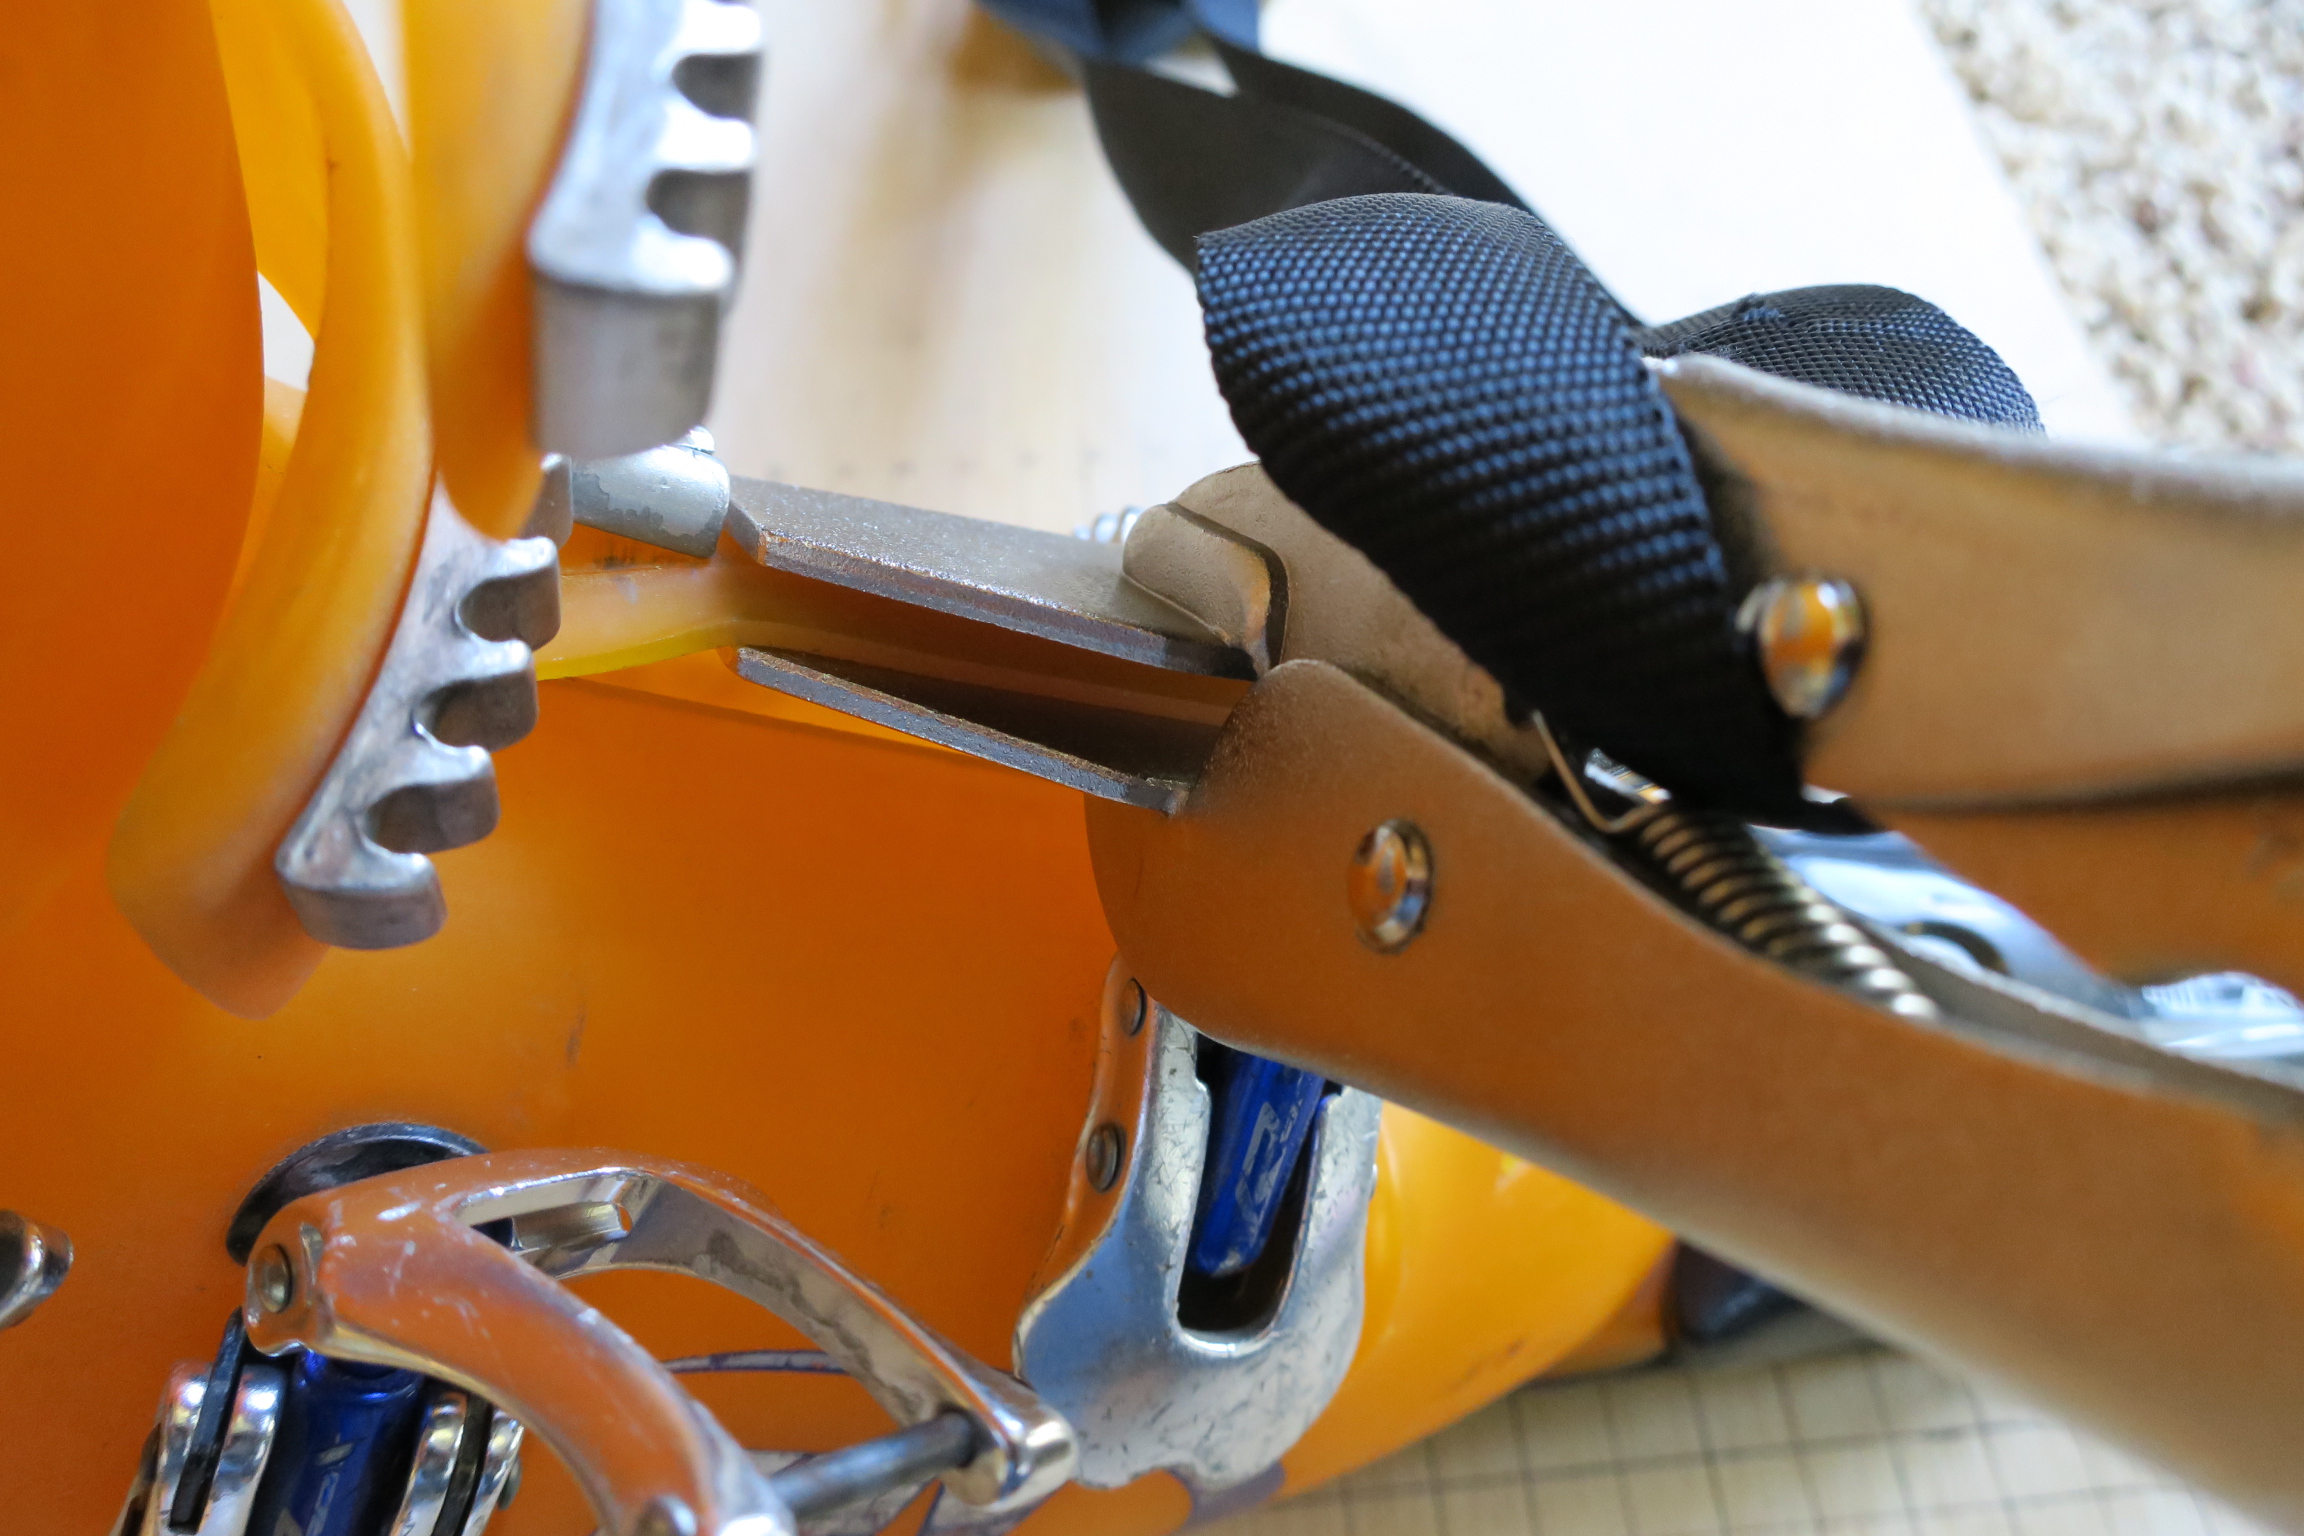
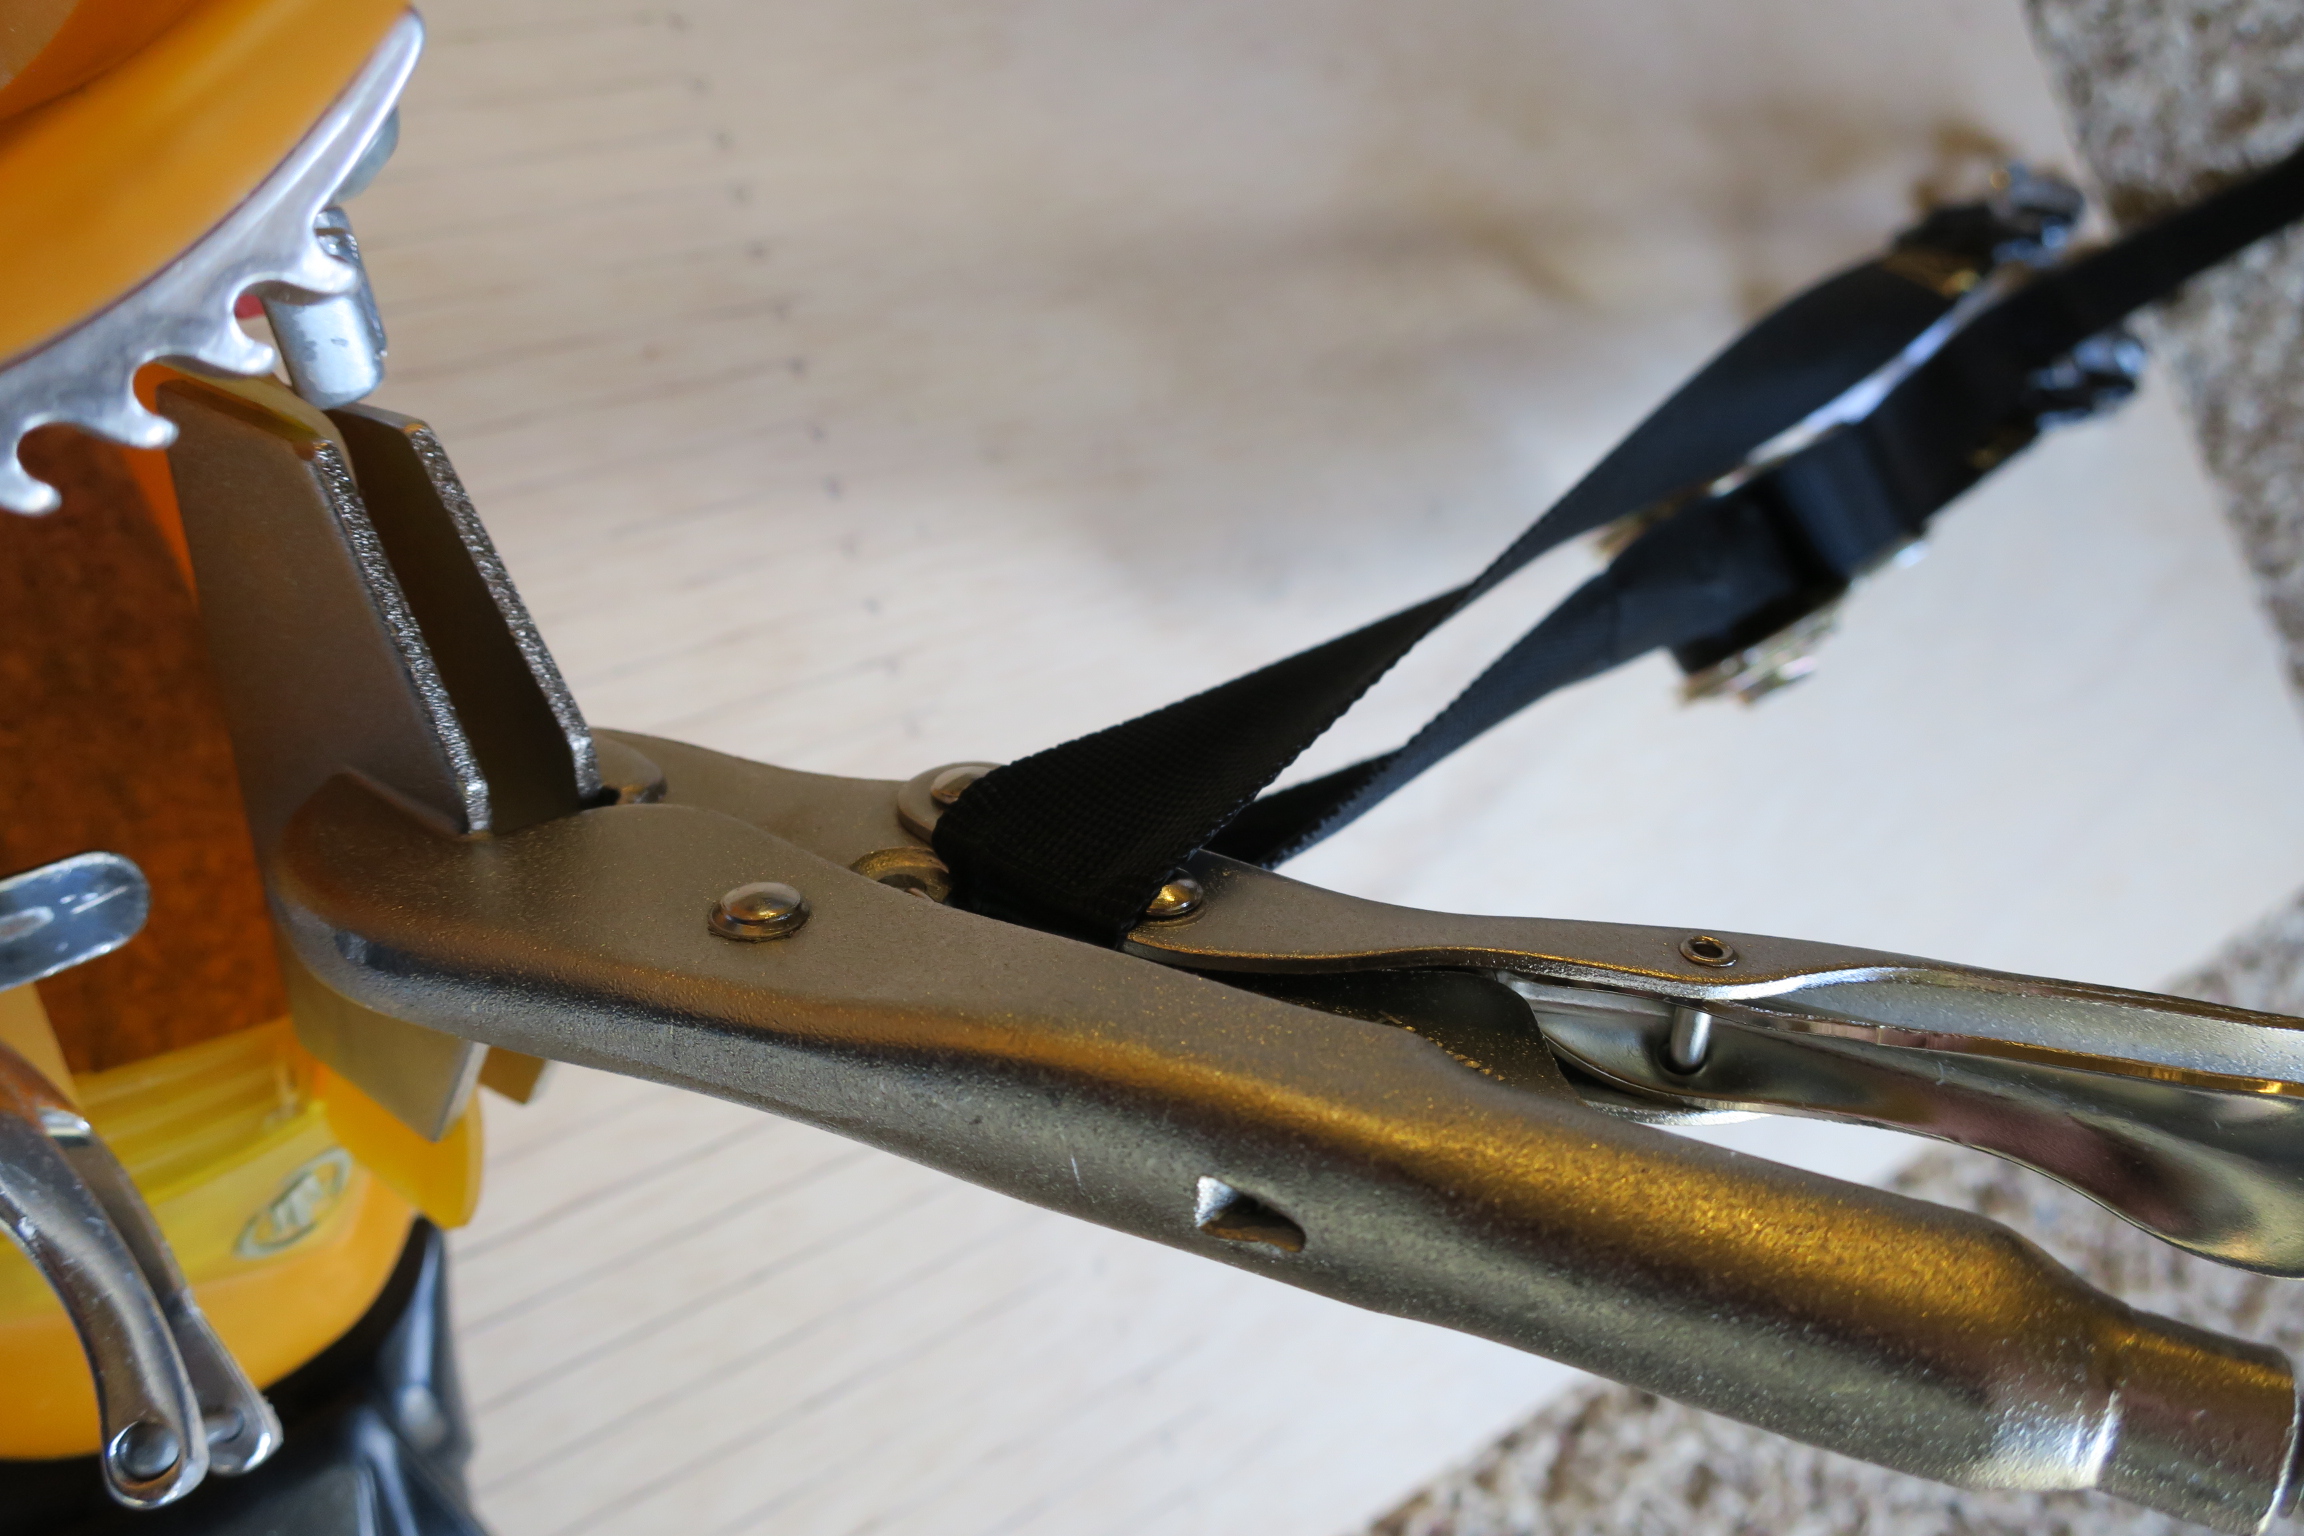
- Attach the hook for the strap portion of the tie-down to the other wire ring anchor and feed the excess through the sheet metal clamp and into the ratchet component
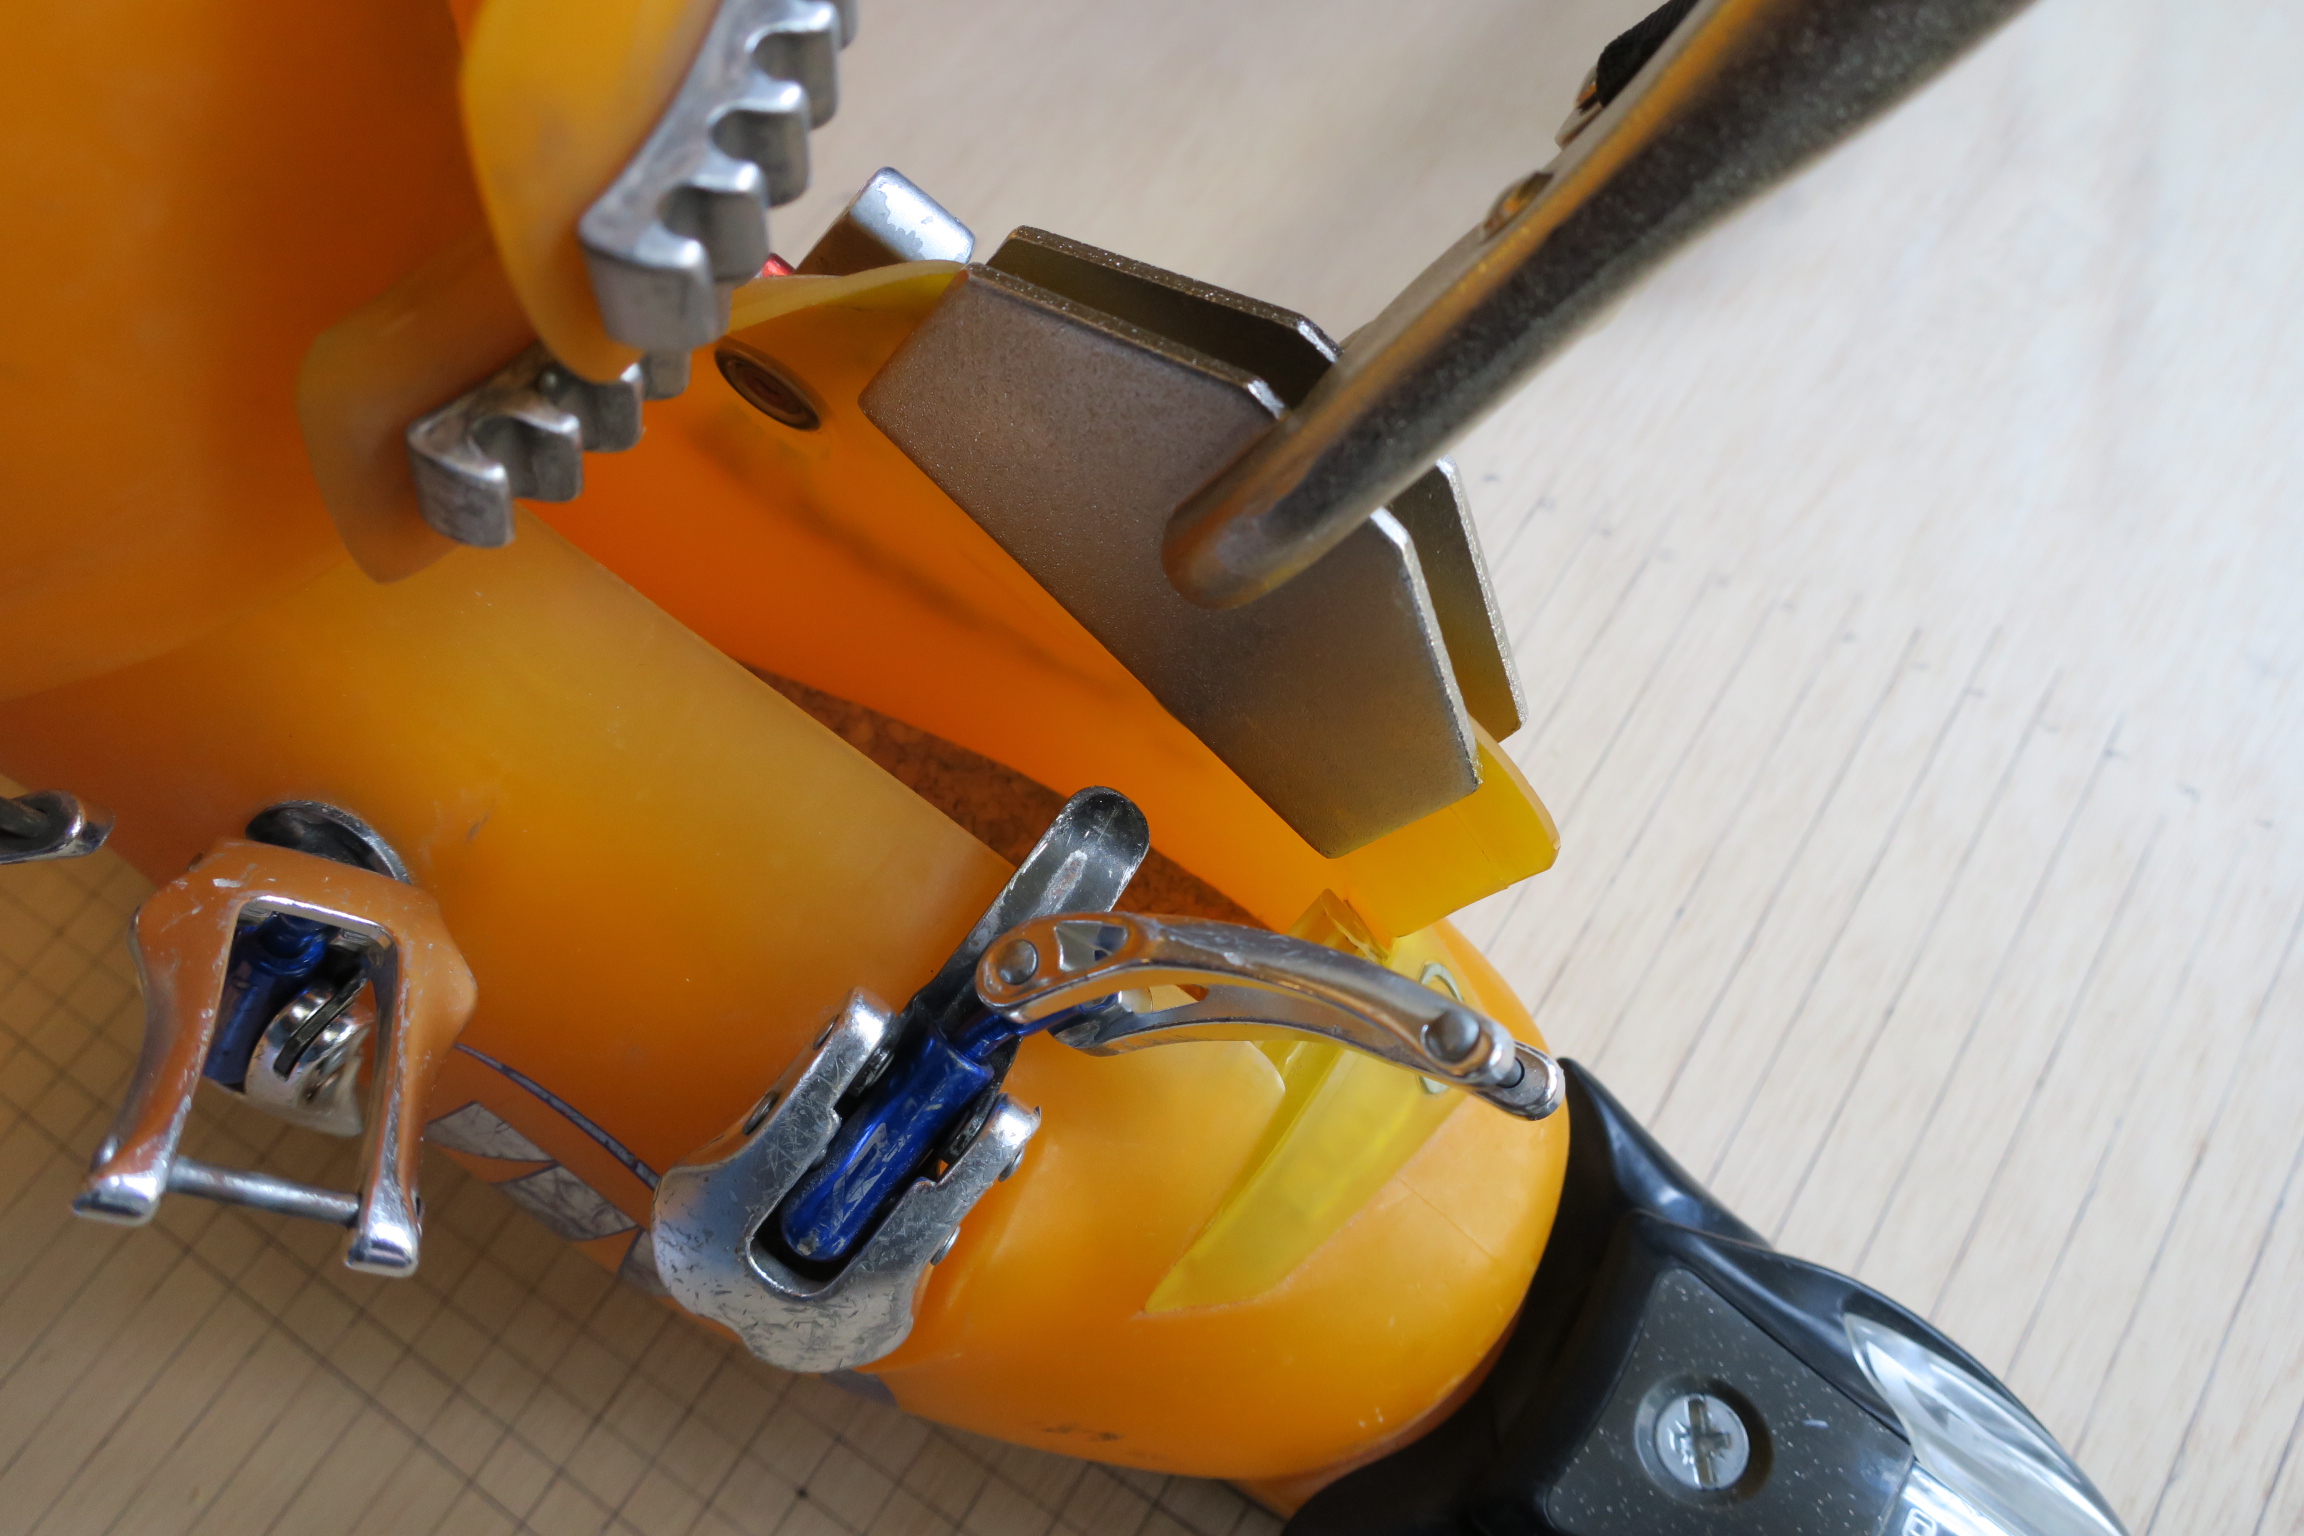
- Securely lock the sheet metal clamp onto the ski boot’s overlapping flap
- Manually pull open the ski boot’s flap a bit to get it started
- Remove the slack from the tie-down and crank on the ratchet to pull open the ski boot flap. Use your other hand to guide the opening of the flap while cranking the ratchet.
- Repeat on the other side of the boot board for the other flap
Photos